
Introduction to Maple Syrup
Maple syrup is a naturally occurring sweetener derived from the sap of sugar maples and other species of maples. This product has not only captured the palette of many but also holds a significant place in history and culture, particularly in North America. Native Americans were the first to discover the process of extracting sap from maple trees and converting it into syrup, a practice that has been passed down for generations. Today, maple syrup is celebrated not just as a sweetener, but also as a symbol of spring, highlighting the intricate relationship between nature and agricultural production.
The popularity of maple syrup extends beyond its traditional use on breakfast favorites like pancakes and waffles. It is increasingly finding its way into a variety of culinary applications, ranging from glazes for meats to unexpected pairings in desserts. As chefs and home cooks alike look to explore innovative flavor profiles, maple syrup stands out as a versatile ingredient that enhances dishes through its rich, robust flavor. Furthermore, this natural sweetener often draws the attention of health-conscious consumers, as it provides a more nutritious alternative to refined sugars and artificial sweeteners.
In terms of nutritional value, maple syrup contains several beneficial minerals such as manganese, zinc, and calcium, along with antioxidants that can help combat oxidative stress. These health attributes contribute to its appeal in various diets, including those focused on natural, unprocessed foods. When considering its impact compared to traditional sweeteners, maple syrup tends to have a lower glycemic index, leading some to prefer it as a healthier choice. In essence, the characteristics of maple syrup make it not only a beloved culinary staple but also an emblematic product that personifies a rich tradition of sweetening food naturally.
The Maple Tree: Species and Characteristics
Maple syrup production is intricately linked to the unique characteristics of various species of maple trees. Among these, the Sugar Maple (Acer saccharum) is the most renowned for its sap, which contains a high sugar content ideal for syrup production. This tree typically thrives in the northeastern and midwestern regions of North America, flourishing in well-drained, fertile soils and areas that offer a combination of sunlight and shade. The sugar content can peak at around 2-3% in early spring, right before the sap flows.
In addition to the Sugar Maple, the Red Maple (Acer rubrum) is also tapped for syrup production, though its sap is not as sweet. Known for its vibrant red foliage in the fall, the Red Maple is more adaptable to various soil types and climatic conditions, making it widespread across the eastern United States. Its sap can be harvested, particularly when the Sugar Maple is not readily available. Although the syrup derived from Red Maple usually has a lighter flavor and is less sought after, it contributes to the overall market of maple syrup.
Another noteworthy species is the Black Maple (Acer nigrum), which shares many characteristics with the Sugar Maple. This tree is less common but still prized for its sap, which is slightly sweeter than that of the Red Maple. Black Maples generally prefer moist, rich soils and are often found in similar geographic regions as their Sugar Maple counterparts. The contribution of these trees to syrup production illustrates the importance of tapping into various maple species, as each brings its unique flavor and quality to the syrup-making process.
The Tapping Process: Harvesting Sap
The tapping process is critical in maple syrup production as it initiates the collection of sap from sugar maple trees. To commence this process, specific tools are necessary, including a drill, a spile (tap), and a collection container. A drill is used to bore a hole into the tree trunk, typically around 1.5 to 2.5 inches deep, allowing for the insertion of the spile, which directs the sap into the container.
Timing is essential when tapping trees; sap flow is optimal when temperatures fluctuate around freezing during the day and fall below freezing at night. This temperature variation creates pressure changes within the tree, prompting sap to flow. Generally, late winter to early spring marks the ideal tapping season, often from late February to early April. Proper timing ensures a successful harvest without compromising the tree’s health.
When tapping, it is crucial to take measures that protect the tree. The hole should be made in a healthy area of the trunk and should avoid past tap holes to minimize damage. Moreover, using a sanitary tapping technique can significantly reduce the risk of infection. After the spile is installed, sap will begin to flow, collecting in buckets or tubing systems fashioned to divert the sap from the tree. These methods of sap collection must be planned carefully to avoid over-tapping, which can hinder future sap production and overall tree vitality.
Interestingly, sap primarily consists of water and sugar, with around 2-3% sugar content. It also contains various nutrients and minerals. Knowledge of sap composition is beneficial when determining the potential yield of syrup from the collected sap; approximately 40 gallons of sap are required to produce 1 gallon of maple syrup. Understanding the intricacies of the tapping process ensures a successful sap harvest and a successful maple syrup production journey.
Cooking Down the Sap: Turning It Into Syrup
The process of transforming maple sap into syrup is a captivating journey that requires both skill and precision. Initially, the collected sap, which can appear somewhat insipid, undergoes a meticulous process known as boiling. This process aims to evaporate the excess water, thereby concentrating the inherent sugars present in the sap. Typically, it takes approximately 40 gallons of sap to produce just one gallon of maple syrup, making the boiling process an essential stage in maple syrup production.
At the outset, a significant piece of equipment is the evaporator, which is pivotal for efficiently boiling the sap. Traditionally, this apparatus consists of a large, shallow pan that allows for maximum surface area exposure, facilitating faster evaporation. Modern evaporators often harness the power of heat sources such as wood or propane, though some operations may utilize stainless steel or copper pans for enhanced thermal efficiency. Regardless of the equipment used, it is crucial to maintain a constant temperature to achieve the proper thickness and flavor of the syrup.
Monitoring temperature is a vital component during the boiling process. The optimal temperature for boiling sap is around 219°F (104°C) at sea level, though this may vary slightly based on elevation. This point marks the transition from sap to syrup, where the sap reaches a density of 66% sugar content. It is imperative to keep a close watch on both the temperature and the consistency of the syrup as it simmers, as the perfection of flavor relies heavily on this precision. As the boiling progresses, the syrup begins to take on its rich flavor profile and amber color that many have come to cherish.
Achieving the perfect consistency and flavor involves testing the syrup using a refractometer or performing a simple spoon test, ensuring it is neither too thin nor overly thick. This stage of cooking down the sap is a delicate balance of science and art, culminating in the exquisite maple syrup enjoyed worldwide. Emphasizing the meticulousness of this process highlights the intricate craftsmanship that goes into creating high-quality maple syrup.
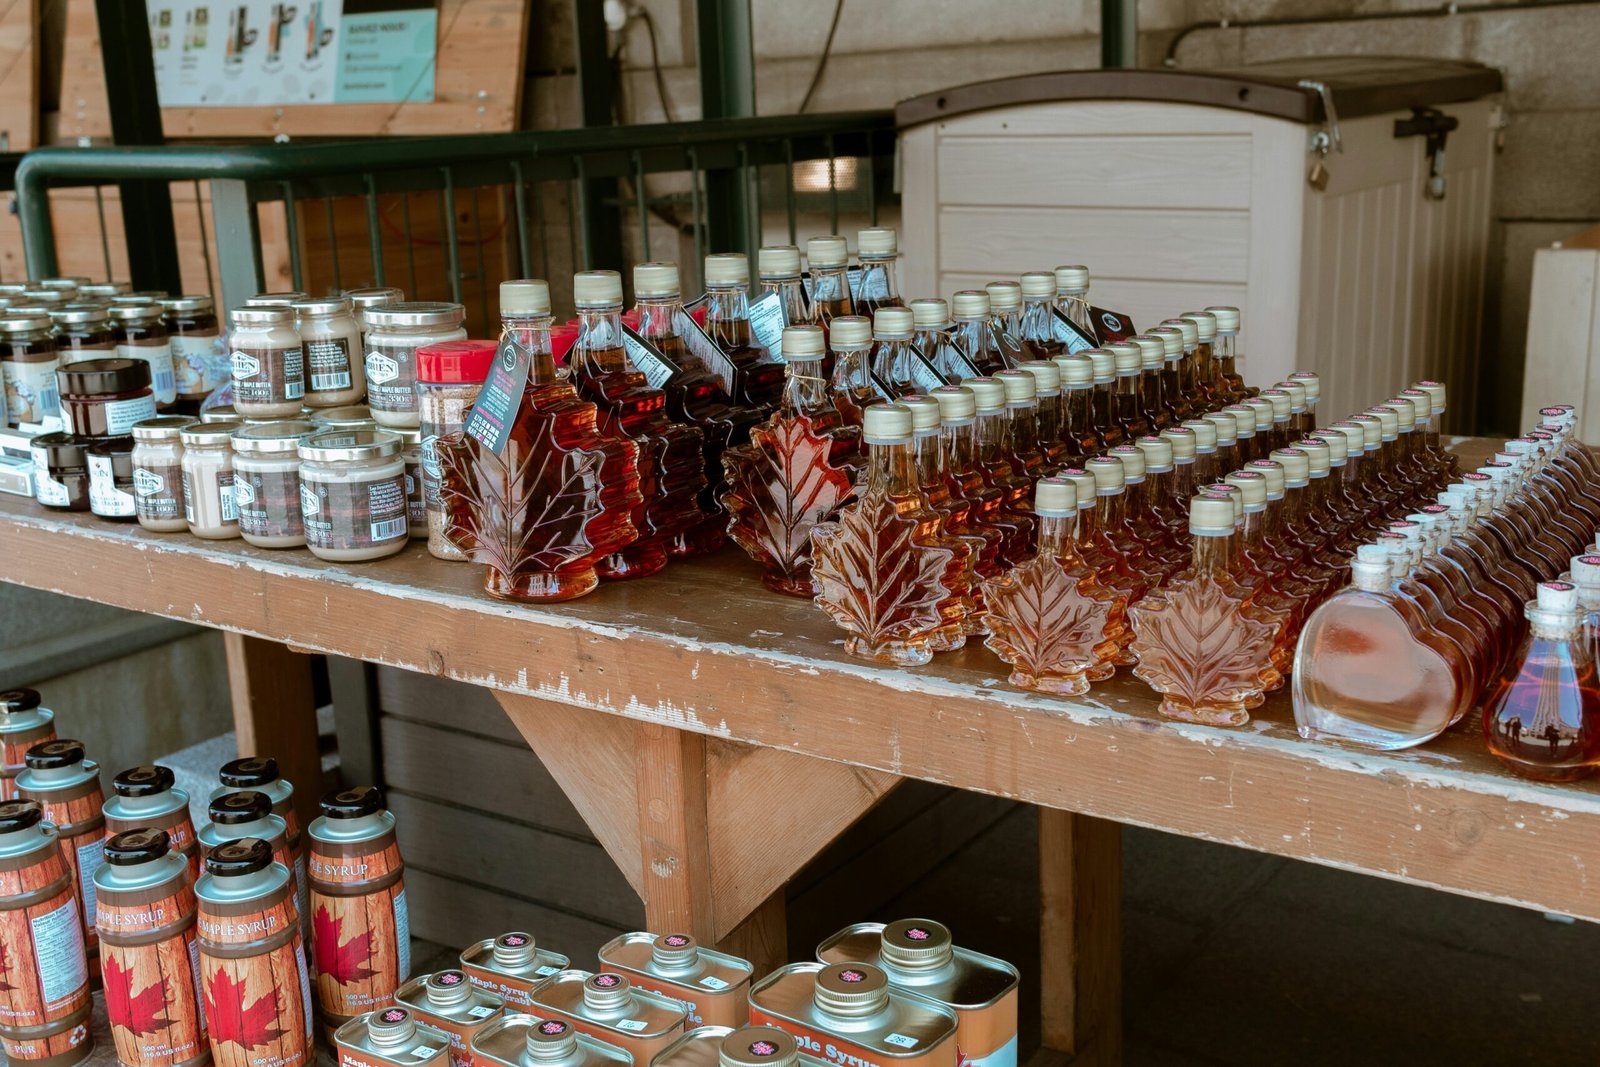
Understanding Maple Syrup Grades
Maple syrup is appreciated not only for its exquisite flavor but also for its grading system, which categorizes syrup based on color, flavor, and density. The grading system is vital for both consumers and producers, as it helps delineate the preferences of various markets and maintains quality standards. Originally, maple syrup was classified simply as Grade A and Grade B, but modern classifications have introduced a more detailed grading system to enhance understanding and choice.
The United States Department of Agriculture (USDA) oversees the grading of maple syrup, which is primarily classified into four distinctive categories: Golden Color & Delicate Taste, Amber Color & Rich Taste, Dark Color & Robust Taste, and Very Dark Color & Strong Taste. Each grade corresponds to specific characteristics that develop throughout the syrup’s processing stage. For instance, Golden Color & Delicate Taste is harvested early in the season when the sap has a lighter hue and a subtle flavor, while Very Dark Color & Strong Taste is obtained later in the season, producing a syrup with a deeper color and a bolder flavor profile.
Factors influencing the syrup quality include the sugar concentration of the sap, the processing techniques employed, and even the weather conditions during the sugaring season. The density of the syrup is also measured in degrees Brix, with a standard syrup being at least 66% sugar content. This density affects not only sweetness but also the consistency and usability in various culinary applications.
Understanding these grades is essential for consumers as they navigate their preferences and make informed choices, while producers benefit by tailoring their offerings to market demands. Therefore, a clear understanding of maple syrup grades plays a paramount role in the maple syrup industry, fostering transparency and quality assurance.
Health Benefits and Uses of Maple Syrup
Maple syrup is not only a beloved natural sweetener but also offers a range of health benefits due to its rich nutritional profile. It contains essential vitamins and minerals, including manganese, zinc, calcium, and potassium. Manganese, in particular, plays a crucial role in antioxidant defense, energy production, and the formation of bones. Furthermore, maple syrup is an excellent source of antioxidants, which can help combat oxidative stress and inflammation in the body, contributing to overall health and well-being.
One of the most noteworthy aspects of maple syrup is its lower glycemic index compared to refined sugar. This characteristic means that it can elevate blood sugar levels more gradually, making it a more suitable option for individuals monitoring their sugar intake. However, moderation is key, as maple syrup is still high in calories and sugars.
In addition to its health benefits, maple syrup offers incredible versatility in the culinary world. It can be used as a natural sweetener in a variety of dishes, from breakfast classics such as pancakes and waffles to savory options such as marinades and glazes. The unique flavor of maple syrup enhances salads when used in dressings or adds depth to sauces for meats and vegetables.
Maple syrup can also be incorporated into desserts, serving as a natural substitute for polished sugars in cakes, cookies, and puddings. It not only imparts sweetness but also enriches the overall flavor profile of these dishes. Furthermore, it is a popular choice for vegan recipes, where it can replace honey and still maintain an appealing sweetness.
In summary, maple syrup is a nutritious alternative to refined sugars, packed with vitamins, minerals, and antioxidants. Its wide-ranging culinary applications make it a valuable ingredient beyond mere sweetening, allowing for creative and health-conscious meal preparation.
Environmental Impact and Sustainability of Maple Syrup Production
The production of maple syrup has garnered attention not only for its delightful flavor but also for its association with environmental sustainability. As awareness of ecological conservation has grown, so too has the focus on the environmental implications of maple syrup production practices. The tapping of maple trees is a pivotal aspect of this industry, and when done responsibly, it can be a sustainable endeavor that benefits rather than harms local ecosystems.
When discussing sustainability in maple syrup production, it is essential to consider the tapping practices employed. Responsible tapping involves carefully selecting mature trees and ensuring that only a portion of the tree’s potential sap production is extracted. This method allows the tree to continue thriving while supporting the production of syrup. Modern techniques, such as the use of tubing systems, can further enhance sustainability by reducing the stress placed on trees and minimizing sap contamination.
Another critical factor in assessing the environmental impact of maple syrup production is the sourcing of materials and practices utilized in the process. Organic methods of production are preferred, as they avoid harmful pesticides and chemicals that could damage the surrounding ecosystem. These practices not only promote the health of individual trees but also contribute positively to the biodiversity of the forest habitats in which the maple trees grow. Furthermore, engaging in responsible sourcing helps to ensure that the local wildlife is not adversely affected by syrup production activities.
Ultimately, as consumers grow more conscientious about the origins of their food, producers must also commit to sustainable practices. By emphasizing responsible tapping and organic production, the maple syrup industry can maintain its ecological integrity while continuing to satisfy the growing demand for this beloved natural sweetener. The sustainability of maple syrup production is not merely an environmental concern; it is a crucial aspect of ensuring the longevity and health of the industry itself.
Getting Started: How to Make Your Own Maple Syrup
Making your own maple syrup at home can be a rewarding venture, allowing you to enjoy a delightful homemade product that enhances various culinary experiences. To begin, it is essential to select the right trees, as only specific species produce sap suitable for syrup-making. Sugar maples are the most commonly tapped trees due to their high sugar content, but red maples and black maples can also be tapped with good results. Look for healthy trees that are at least 10 inches in diameter and have a straight trunk.
Once you have identified your trees, the next step is gathering the necessary equipment. You will need a drill, a spile (a small tap used to extract the sap), collection containers (such as buckets or tubing), and a large pot or evaporator for boiling the sap down to syrup. Additionally, a thermometer is beneficial for monitoring the temperature of the sap as it is boiled to achieve the proper consistency.
The process of tapping the trees starts in late winter or early spring, generally when daytime temperatures rise above freezing and nighttime temperatures drop below. Begin by drilling a hole about 1.5 to 2 inches deep into the tree, ensuring it is slightly upward-slanted for sap flow. Insert the spile into the hole and hang your collection container to catch the dripping sap. It is essential to check your sap regularly and ensure the containers do not overflow.
Once sufficient sap is collected, it is time to boil it down. The sap-to-syrup ratio can be quite high, often requiring around 40 gallons of sap to produce one gallon of syrup. Make sure to keep the sap boiling to remove water content until it reaches a temperature of 219°F. Once ready, filter out any impurities and store your syrup in sterilized containers. Regular checking throughout the process will help ensure that you produce quality maple syrup. By following these steps and implementing any troubleshooting tips, you can embark on your sweet journey into maple syrup production successfully.
Conclusion: The Sweet Reward of Maple Syrup
In reflecting on the intricate and rewarding journey of maple syrup production, it is evident that this natural product is truly special. The entire process, from the careful tapping of maple trees to the diligent boiling of sap, showcases the dedication and skill involved in crafting pure maple syrup. This sweet journey not only highlights the rich traditions of syrup-making but also emphasizes the importance of sustainable practices that preserve our forests and respect the environment.
The joys of producing one’s own maple syrup extend beyond the final product; they encompass a deeper appreciation for nature and the skills involved in harvesting and processing sap. Each bottle of syrup tells a story of hard work, patience, and a deep connection to local resources. Furthermore, engaging in syrup-making can unite families and friends, creating a cherished tradition that strengthens bonds and fosters a sense of community.
As you consider the significance of maple syrup, it invites an exploration of flavors and culinary possibilities. Whether enjoyed drizzled over pancakes, blended into desserts, or used as a glaze for meats, maple syrup adds a distinct sweetness unmatched by artificial alternatives. The nutritional benefits, coupled with its flavor, make maple syrup a preferable choice for those seeking natural ingredients.
We invite you to embrace the process of syrup production, whether as a personal hobby or as an exploration of regional traditions. By attempting to make your own syrup, you not only yield a delicious outcome but also become part of a timeless practice that celebrates the bounties of nature. The sweet reward of maple syrup lies not just in its taste, but in the journey of discovery, craftsmanship, and connection to the environment it embodies.